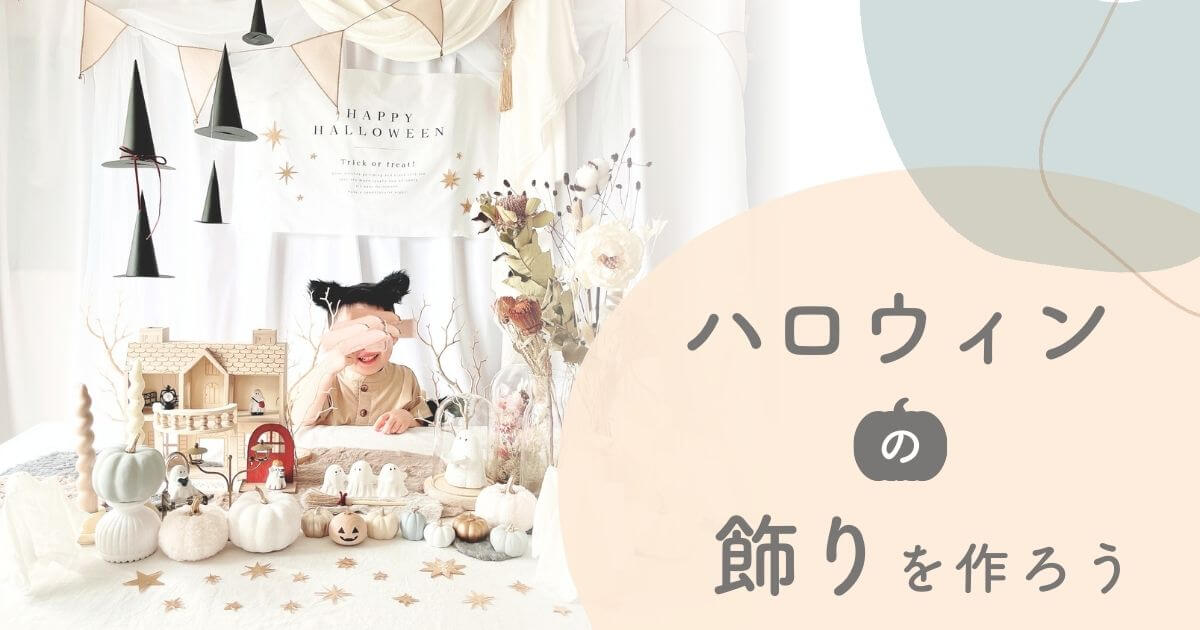
ハロウィンフォトやハロウィンパーティーにおすすめ!
簡単にできるハロウィンの飾りつけを解説します。
ハロウィンフォトやハロウィンパーティー、ハロウィンの雰囲気を楽しみたい方はぜひご覧ください。
我が家のハロウィンフォト
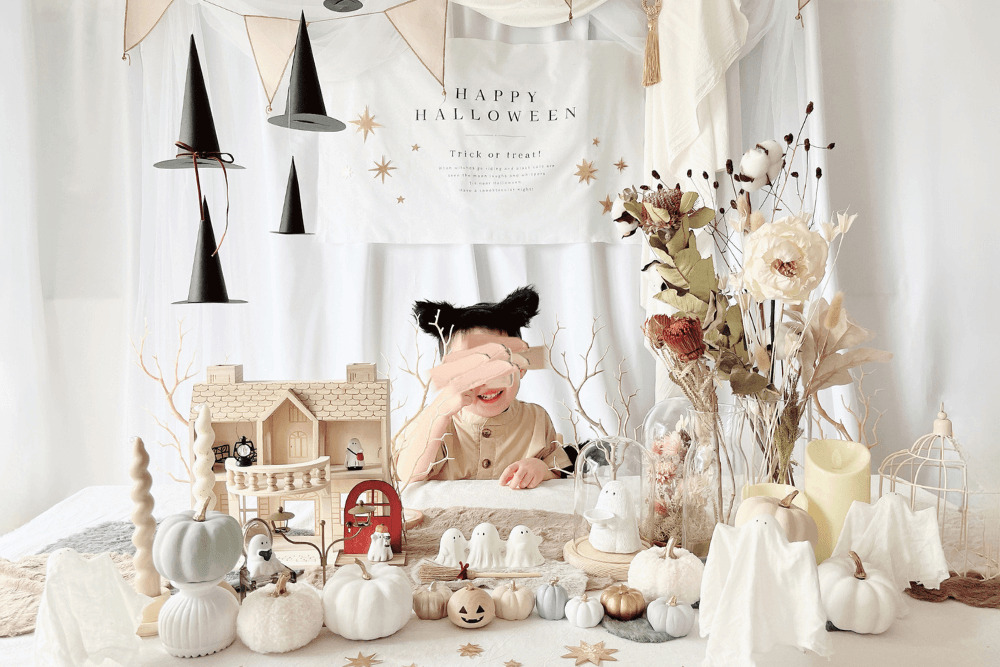
買ったものもありますが、手作りできるものもたくさん◎
ぜひ作ってみてください!
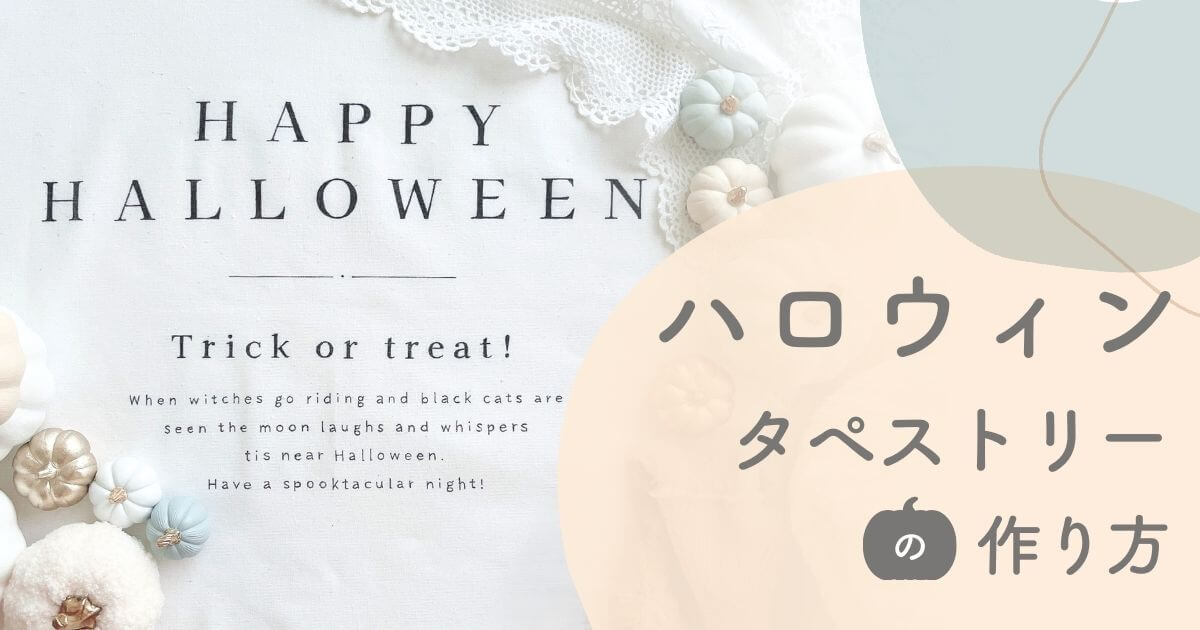
ハロウィンタペストリー
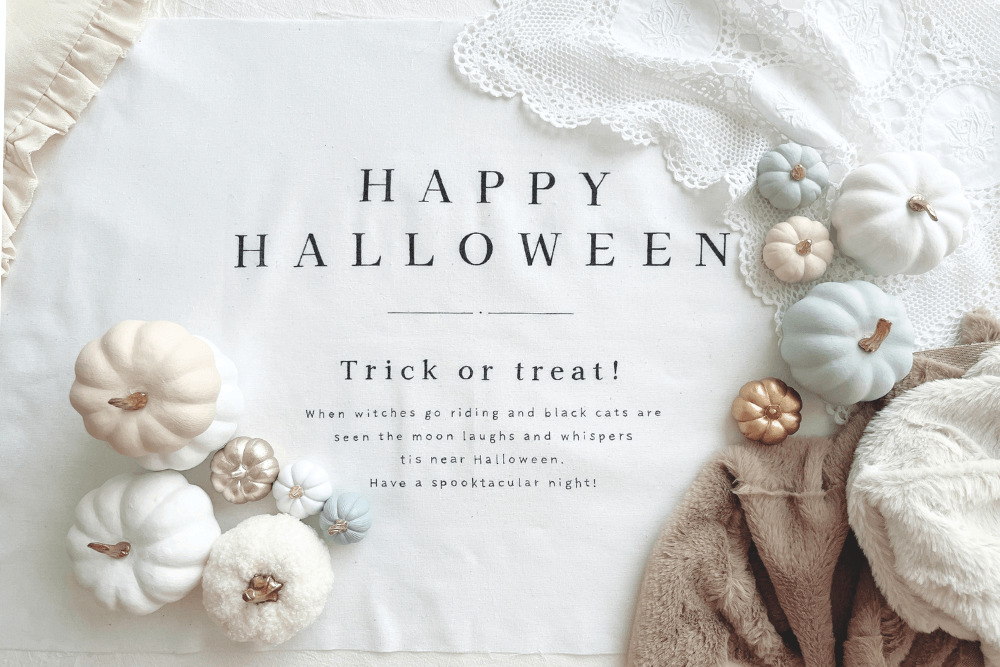
ハロウィンタペストリーは、ダイソーのはぎれと油性マジックで手作りしました!
作り方は以下の記事をご覧ください◎
 たり
たりタペストリーのデータは無料でダウンロードOK!
かぼちゃは100均のものをリメイク
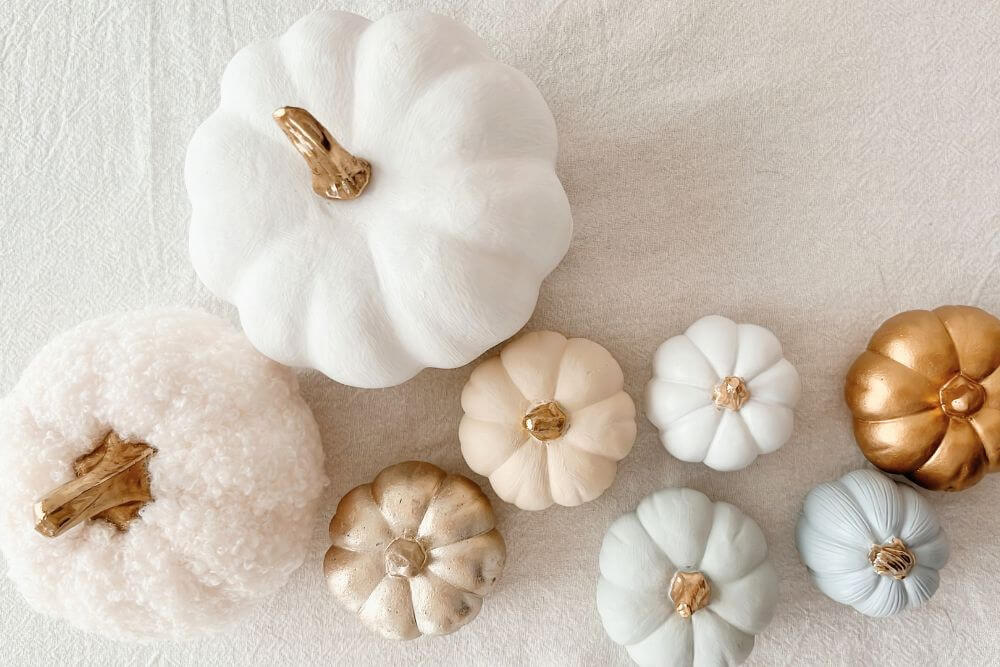
白・ベージュ・グレーのかぼちゃたちは、100均のかぼちゃをリメイクしました!
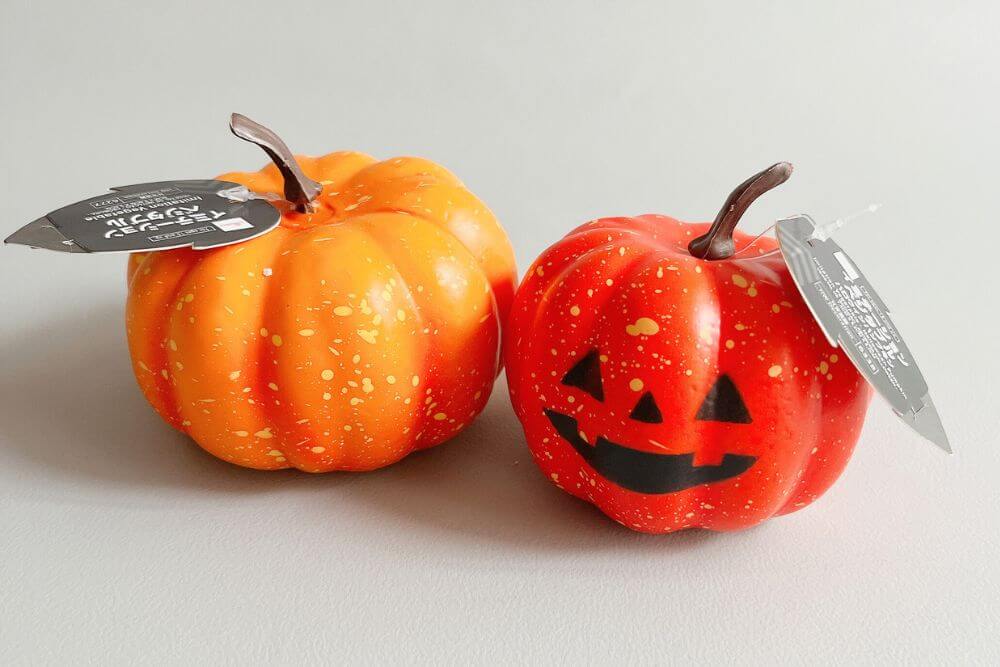
1番多く使ったのは、ダイソーのかぼちゃです(↑画像)。
まずヘタを取りはずして、実部分には水性塗料を塗り、ヘタ部分はミラーパウダーを使用しました(後で説明)。
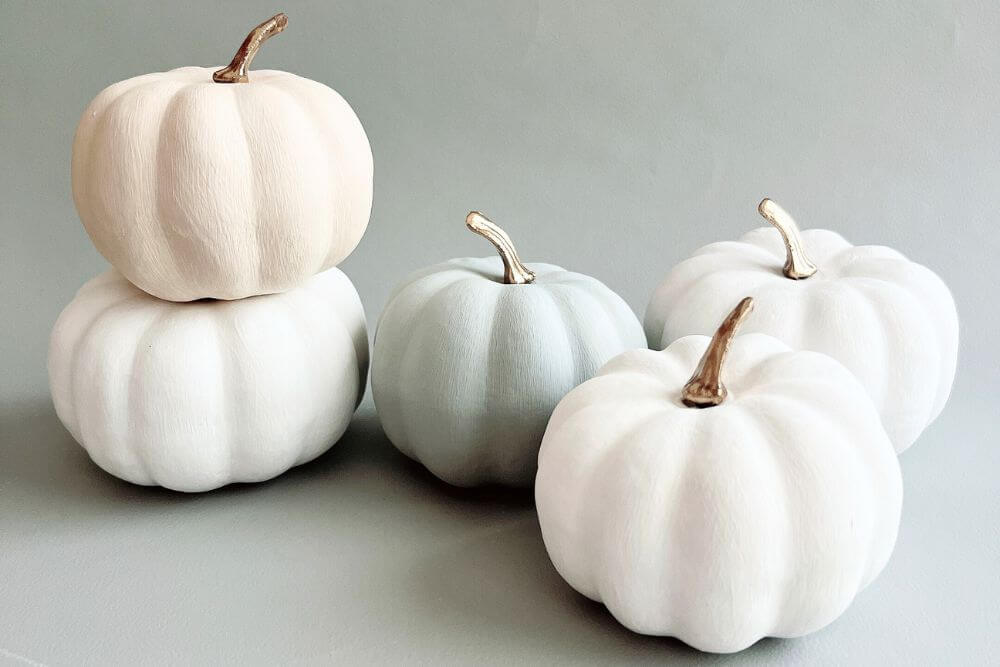
実の部分がなかなかきれいに塗れなかったので、3度塗りしました。
たりプライマーを先に塗っておけば、もっと少ない回数で済んだかも(汗)
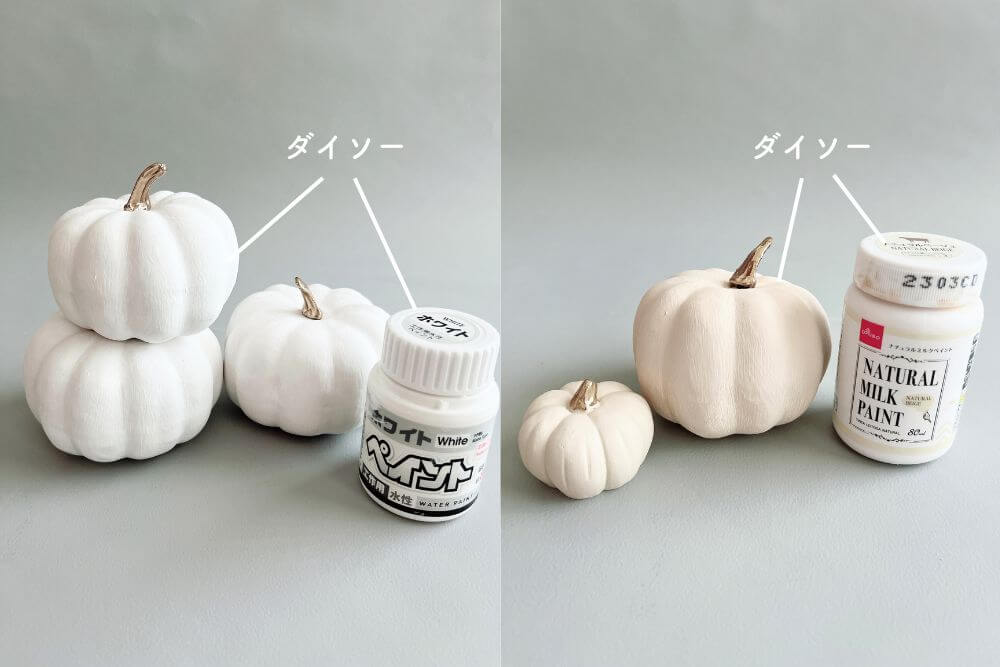
使った水性塗料は、すべてダイソーで買ったもの。
※小さいかぼちゃは、セリアのものです。
グレーのかぼちゃは、白の水性塗料にほんの少しだけ黒を混ぜました。
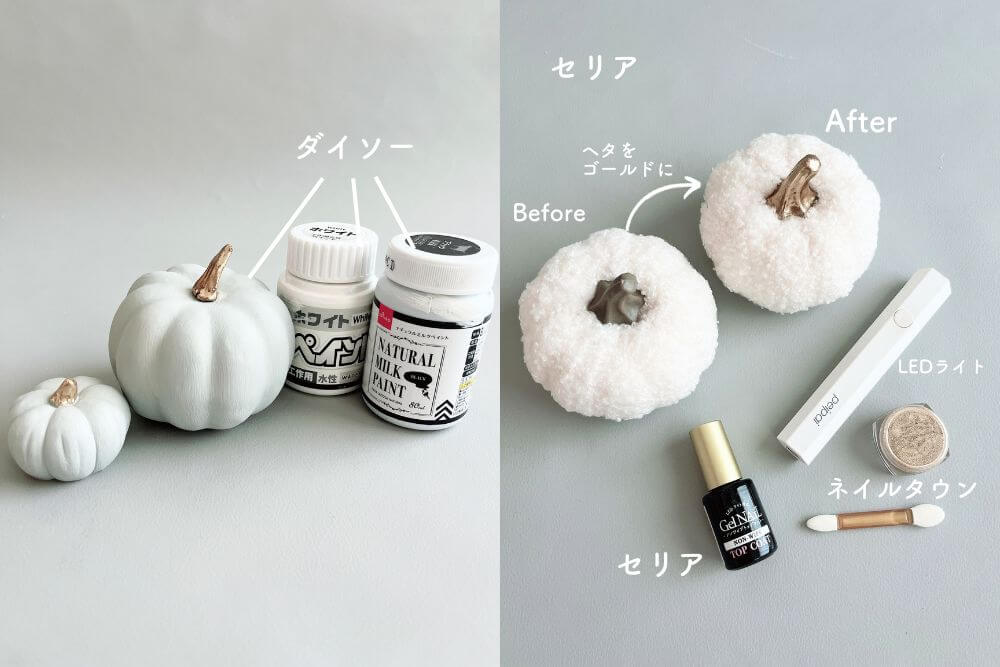
また、もこもこのかぼちゃはセリアのもの。
ヘタ部分だけゴールドにしました。
たりヘタをゴールドにするだけで、とってもかわいくなりましたよ!
ヘタをゴールドにするやり方【ミラーパウダー】
下記のやり方で、かぼちゃのヘタをすべてゴールドにしました。
セリアのジェルネイル用ののンワイプトップジェルを、ヘタ部分に塗ります。
LEDライトを1分照射し、ノンワイプトップジェルを硬化させてください。
LEDライトは100均でも販売されています。
ミラーパウダーをこすってください。
私はネイルタウンのミラーパウダーをDIYで使用しています。
カラーは「タイプC」です。

まんべんなくパウダーがヘタにのったら、余分な粉をはらってください。
(ダストブラシがあればダストブラシで)
コーティングするため再びノンワイプトップジェルを塗り、LEDライトを1分照射
きらんきらんのゴールドのヘタになります!
魔女の帽子
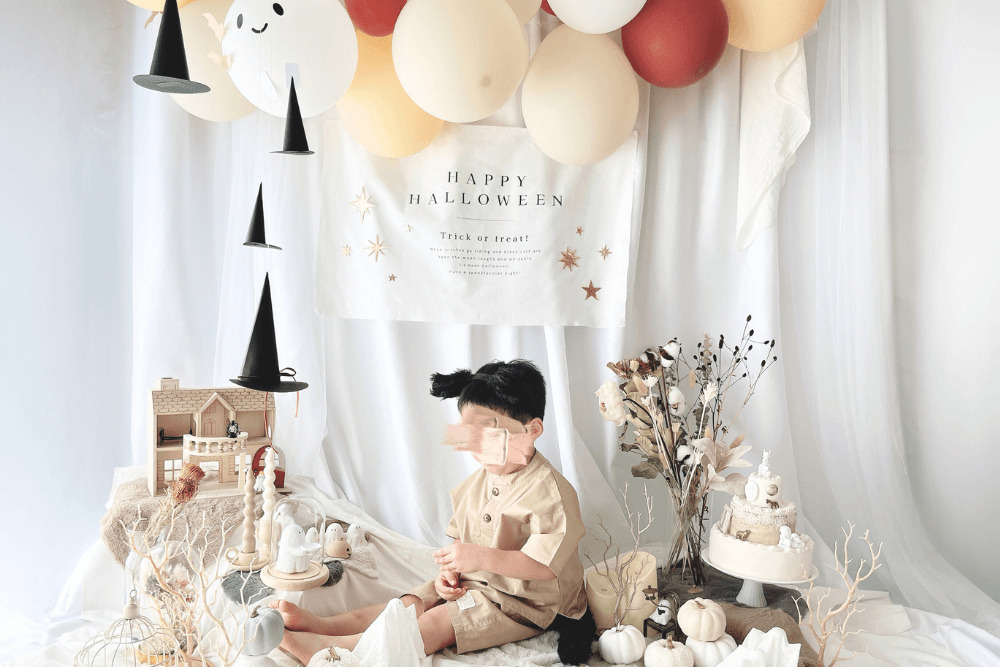
写真の左の方に垂れ下がっている「魔女の帽子」。
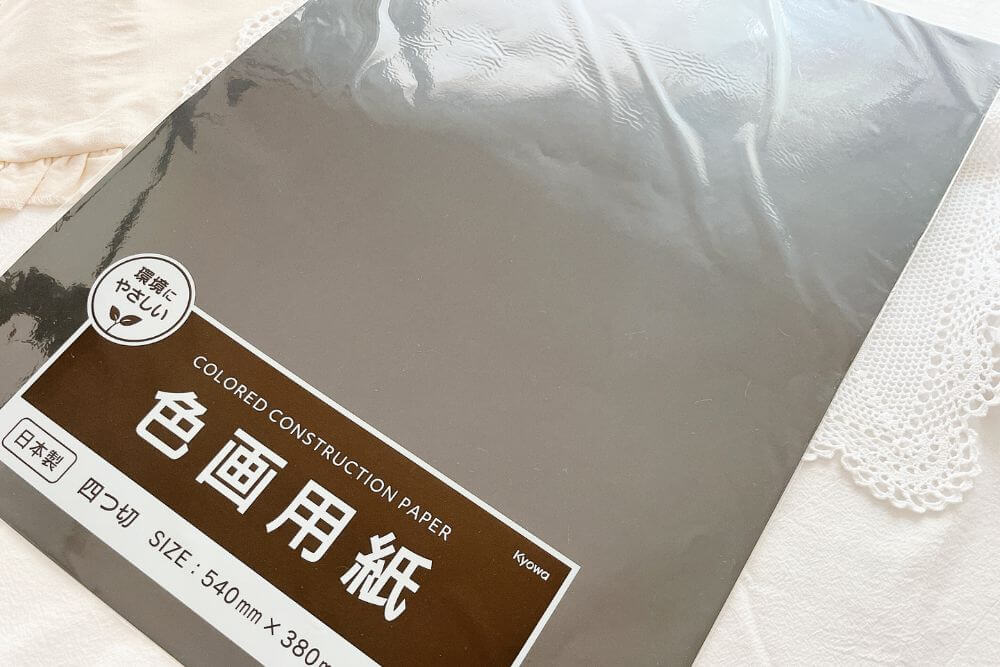
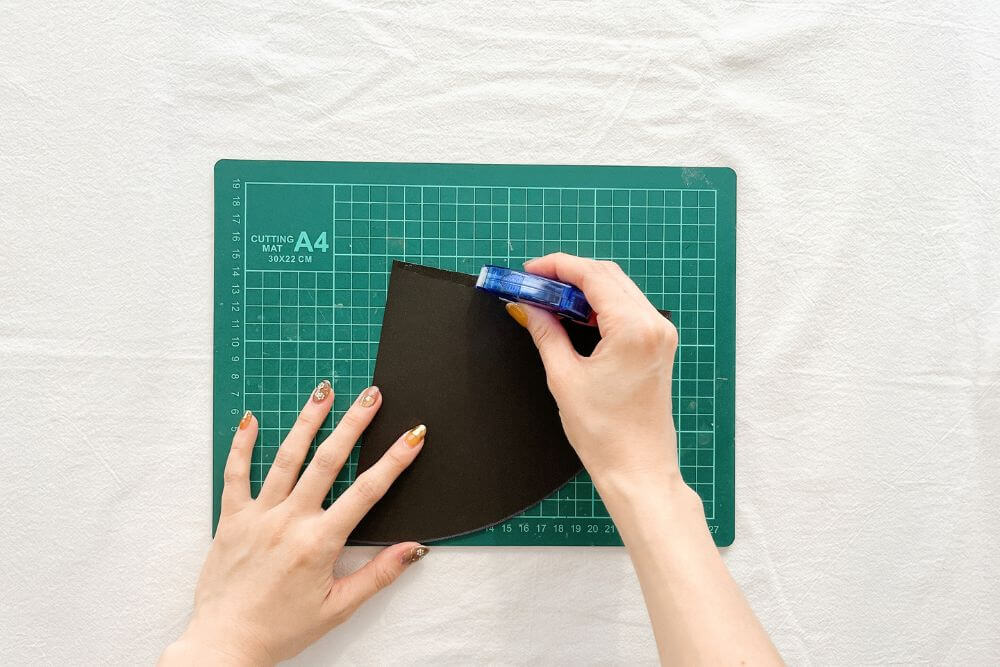
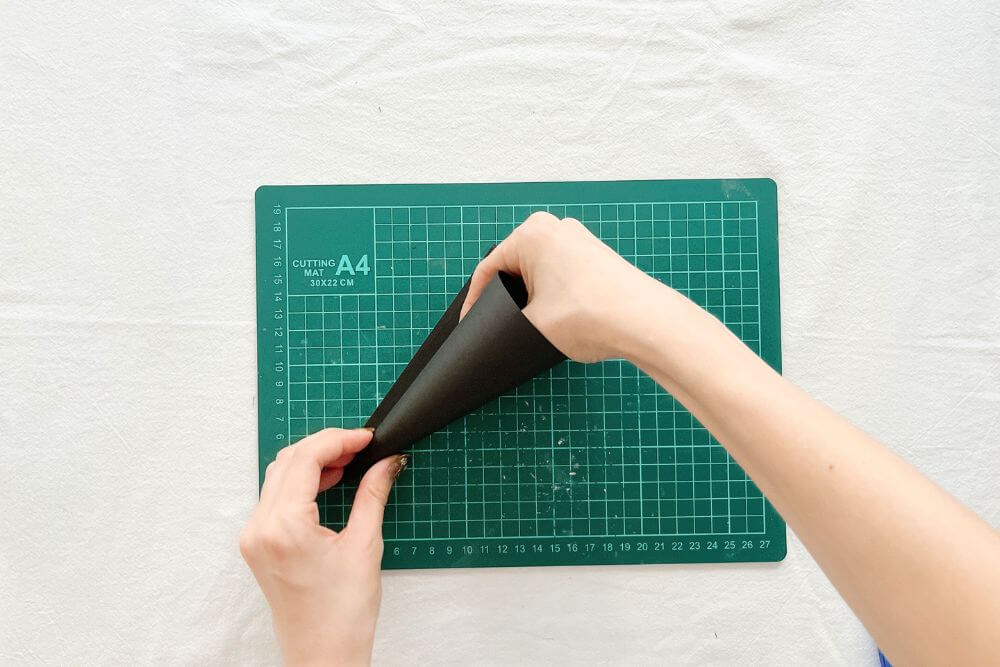
黒の画用紙で簡単に作ることができます!
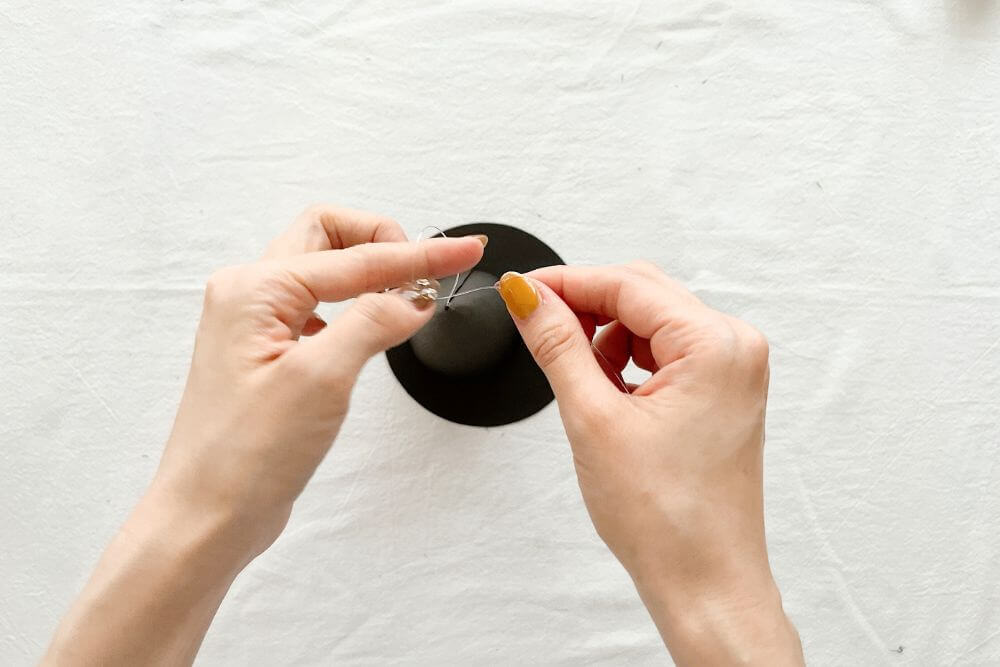
魔女の帽子の作り方
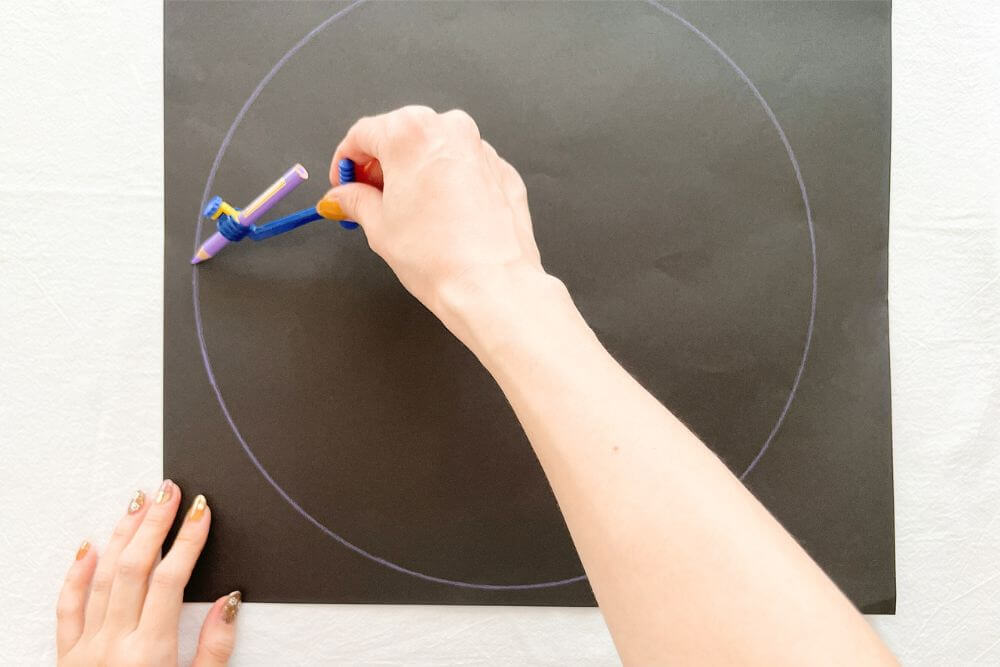
テープのりがない場合は、両面テープでも可。
帽子の上部分→ツバの順でテグスを通してください。
テグスは8号を使いました。

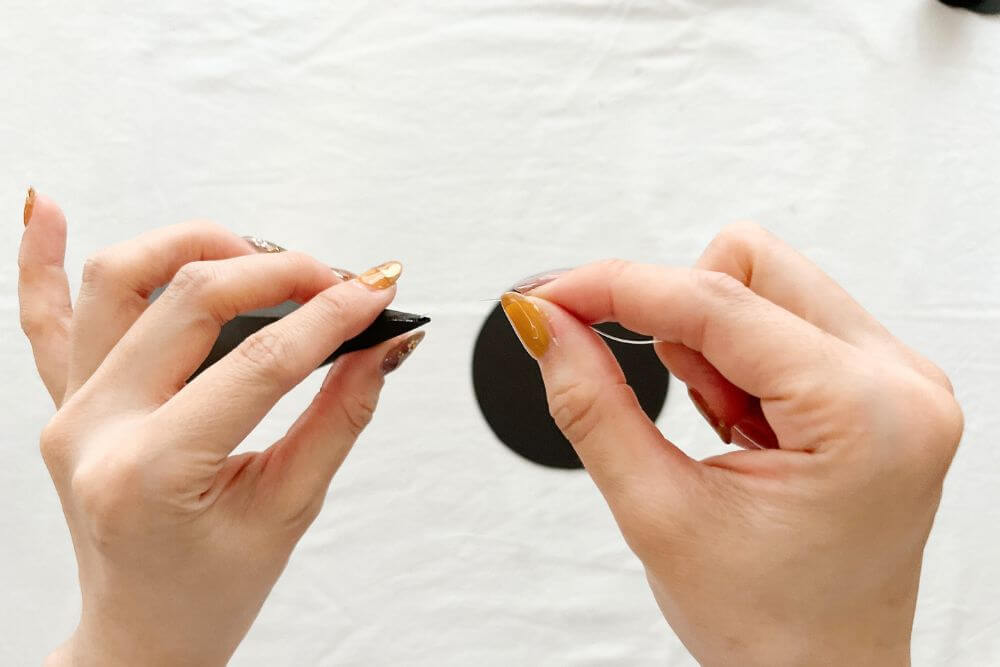
テグスを通した後に片結びを2回してセロテープでとめます。
下から写真を撮る場合はテープが反射してしまうので、テープの上に黒い画用紙を切って貼ると◎
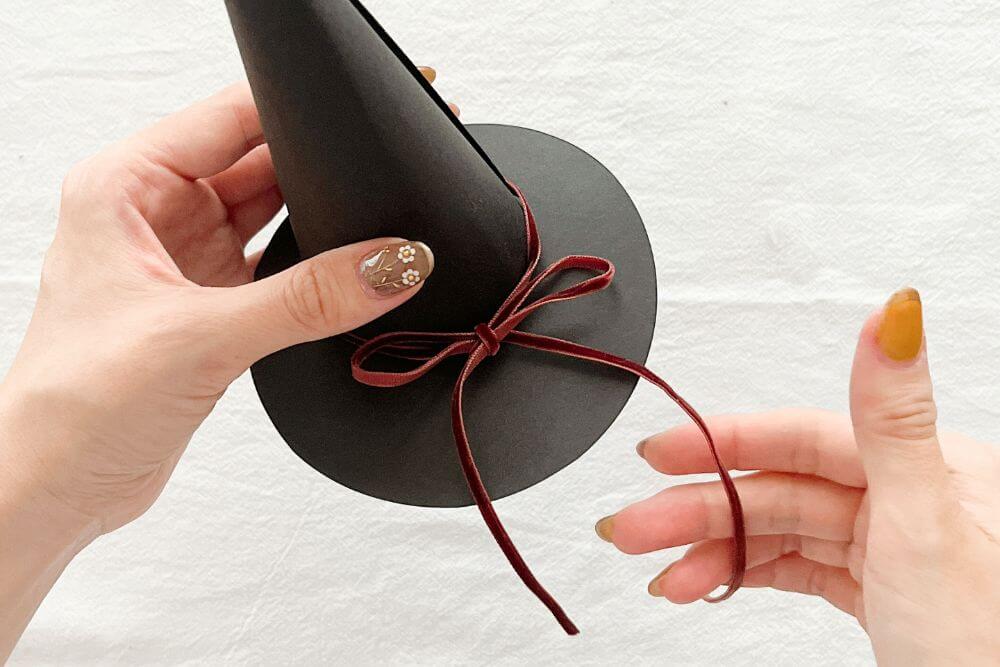
リボンをつけるのもおすすめ!
天井にテグスの端を布ガムテープで貼り付けて使ってください◎
プラバンで作る星
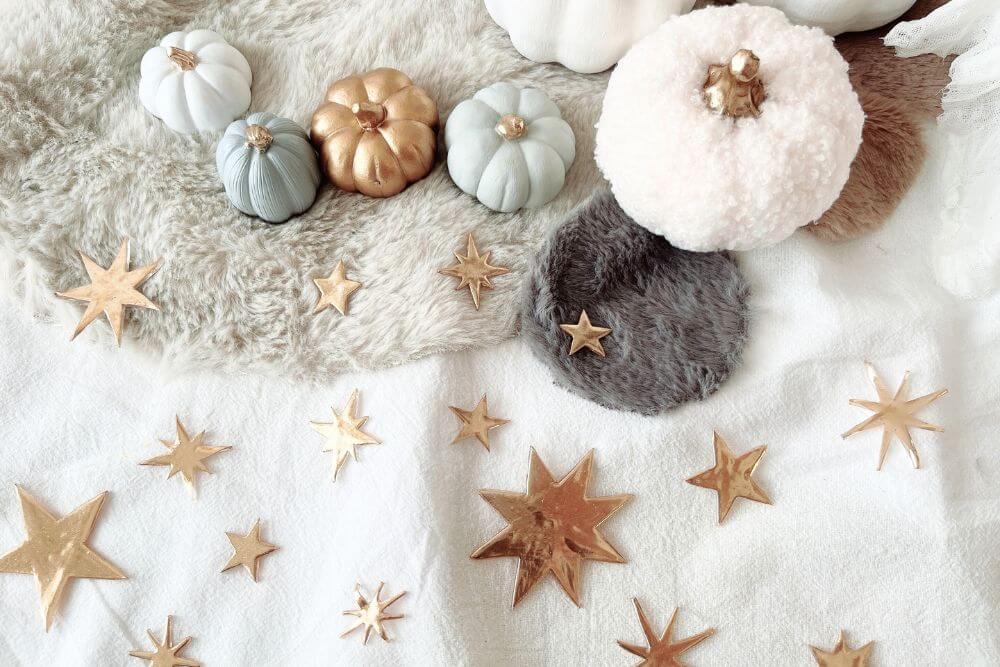
床に散らしたり、ハロウィンタペストリーにつけたりして使ったプラバンの星。
たり写真がぐんと華やかになるのでおすすめです!
プラバンの星の作り方
ダイソーの白いプラバンを使いました。
私はCanvaで好みの星のイラストを探していろんな大きさのものを印刷し、型紙にしました。
オーブントースターで約2〜3分加熱し、縮みきったら取り出して本などではさんでください。
セリアのノンワイプトップジェルを塗って、LEDランプを照射してください。
ミラーパウダーをこすってください。
かぼちゃのヘタと同様、ネイルタウンのミラーパウダーを使用。
カラーは「タイプC」です。
まんべんなくパウダーがヘタにのったら、余分な粉をはらってください。
(ダストブラシがあればダストブラシで)
コーティングするため再びノンワイプトップジェルを塗り、LEDライトを1分照射
きらんきらんの星のできあがりです。
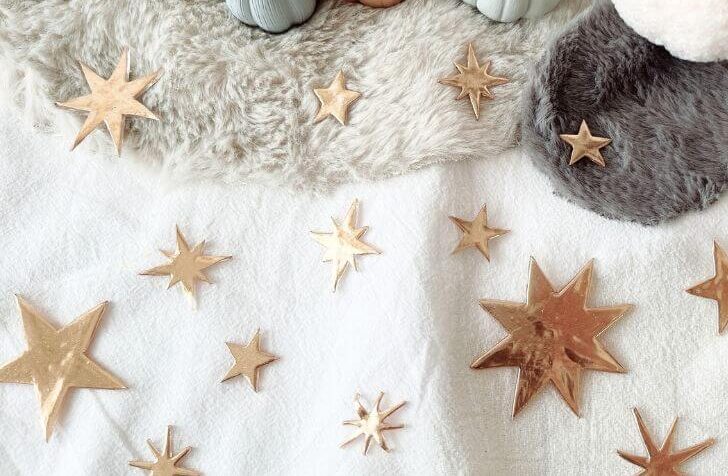
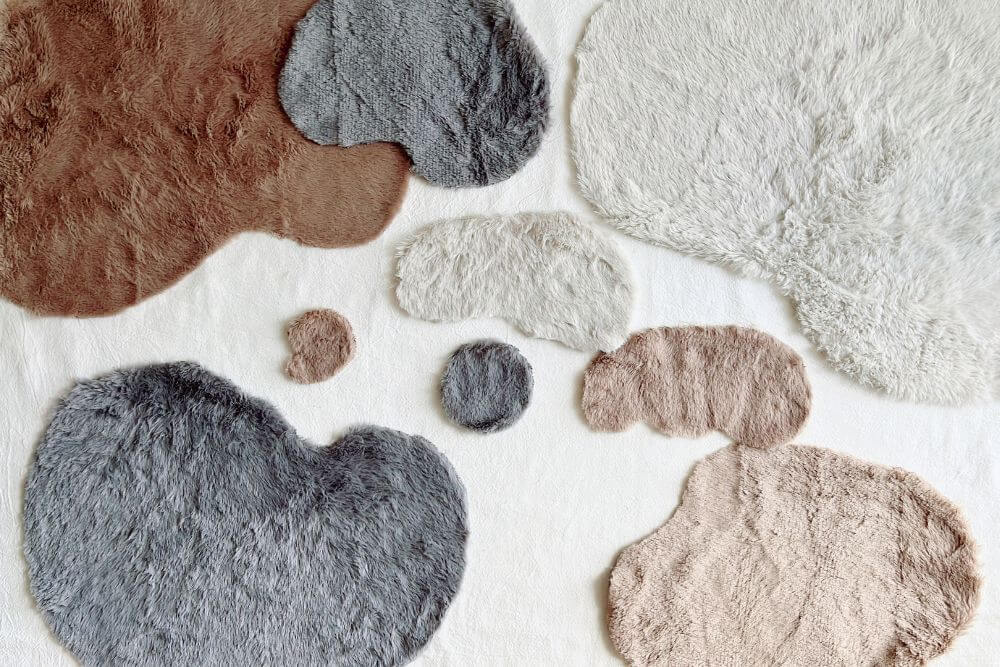
ダイソーのファー

小物の下に敷いているファーは、ダイソーの「エコファー」を切って使いました。
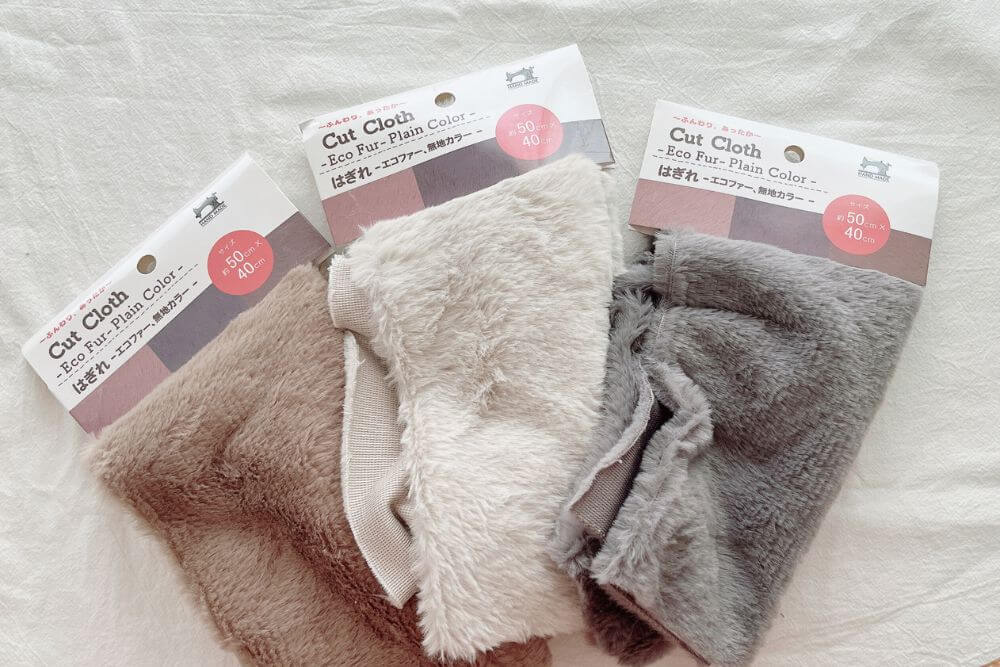
↓下画像のように、ふにゃふにゃした形に切るとかわいかったですよ!
風船のガーランド
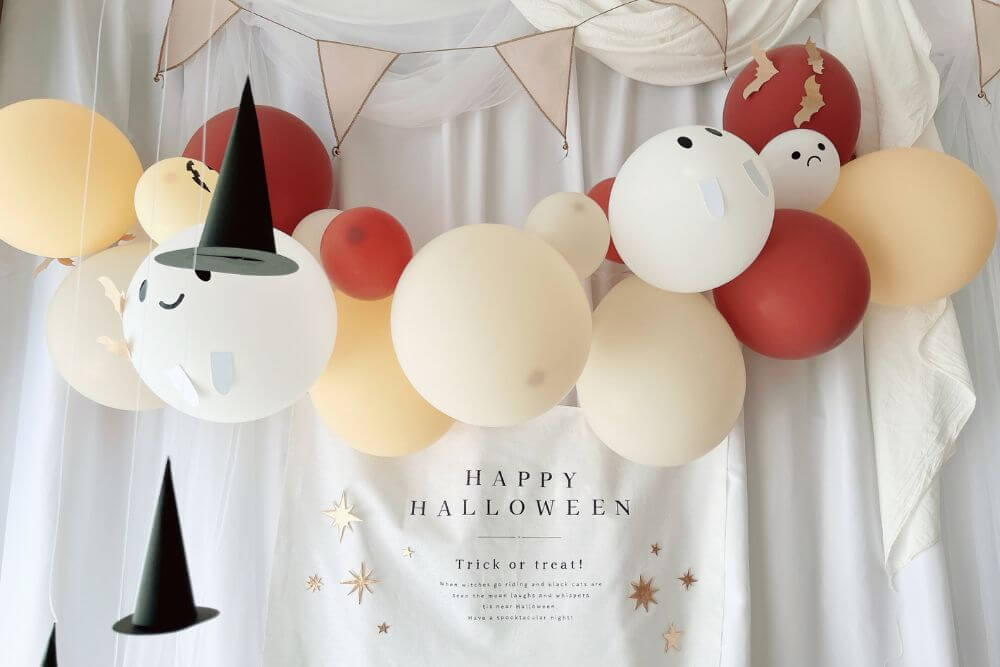
写真のたくさんの風船は、gummy.party.projectさんからご提供いただきました◎
説明書を読む前は「どうやって風船繋げるの?」と思ってましたが、専用のテープがあって穴に風船を差し込むだけで上手にできました!
たりシールで顔を作るのが楽しかったです♡
その他|使ったグッズの紹介
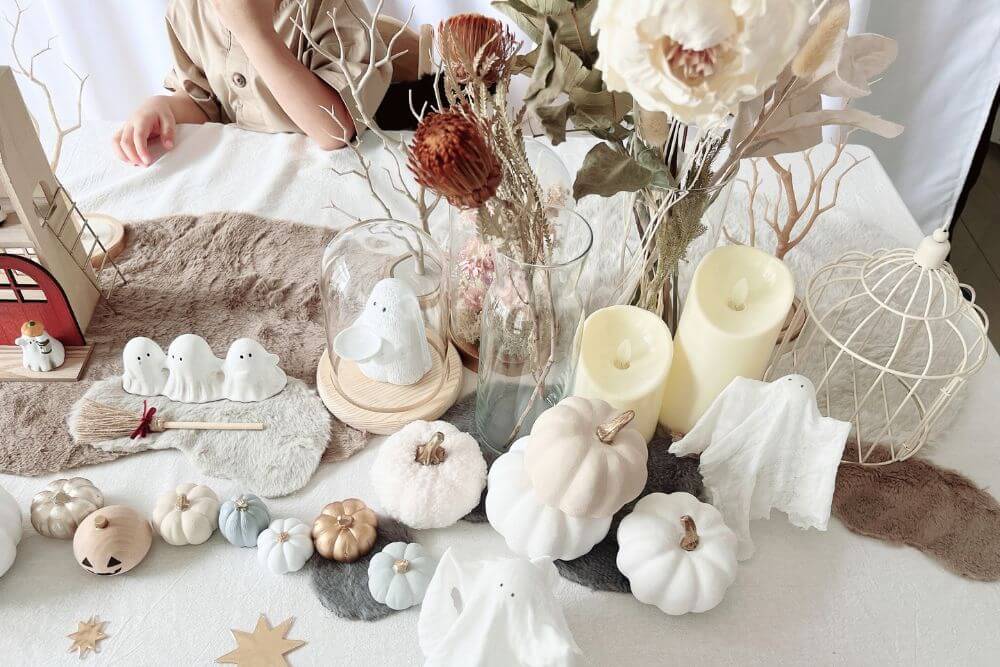
その他の小物たちについて解説します。
- おばけの置き物たちとミニチュアハウス、イミテーションキャンドル…すべてNATURAL KITCHENのもの
- ガラスドーム…おばけが入っているのはダイソー、お花のガラスドームはIKEA
- 花瓶…Standard Products、ダイソー
- 鳥籠…ダイソー
- ミニほうき…セリア。リボンは自分でつけました
- 木のオブジェ…セリア
- ガーゼで作ったおばけ…オレンジページ(WEB)で作り方が見られます。「オレンジページ おばけ 作り方」で検索してみてください
NATURAL KITCHENのハロウィングッズがかわいすぎて、たくさん買ってしまいました(笑)
おばけやミニチュアハウスがとても人気だったようです。
息子の仮装(ネコ)
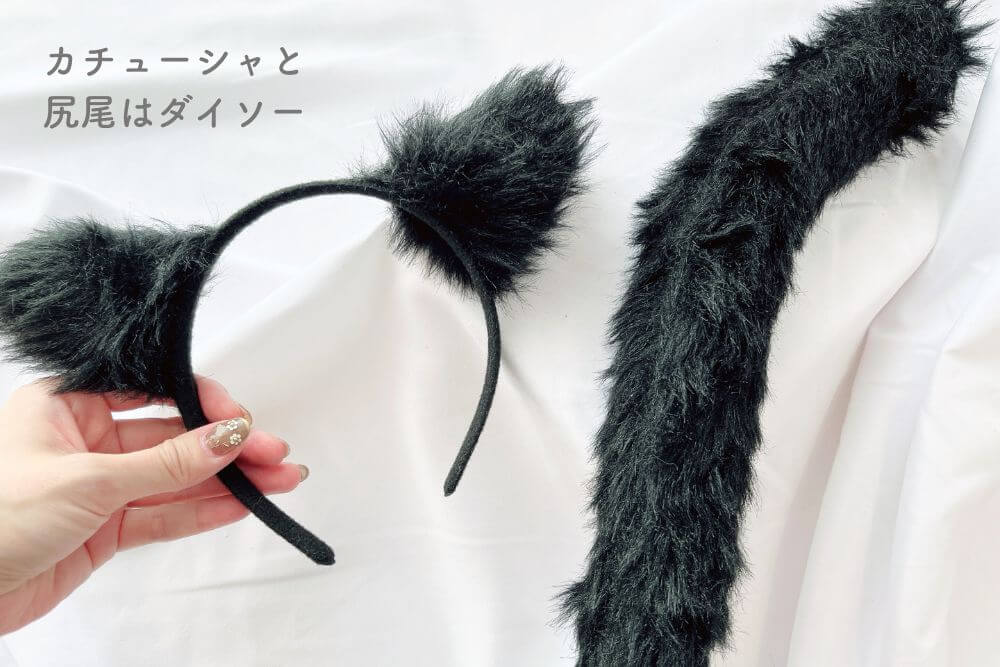
息子には黒猫に仮装してもらいました。
耳と尻尾はダイソーで、それぞれ110円。
たり合計たったの220円だけど、充分かわいかった!
まとめ
今回は、ハロウィンのかざりつけについて解説しました。
簡単なものばかりなので、ぜひ作ってみてください◎
参考になれば幸いです。


コメント
コメント一覧 (1件)
[…] たりママブログ 【100均】ハロウィンの飾り付けを手作りしよう! ハロウィンフォトやハロウィンパーティーにおすすめ!簡単にできるハロウィンの飾りつけを解説します。ハロウ […]