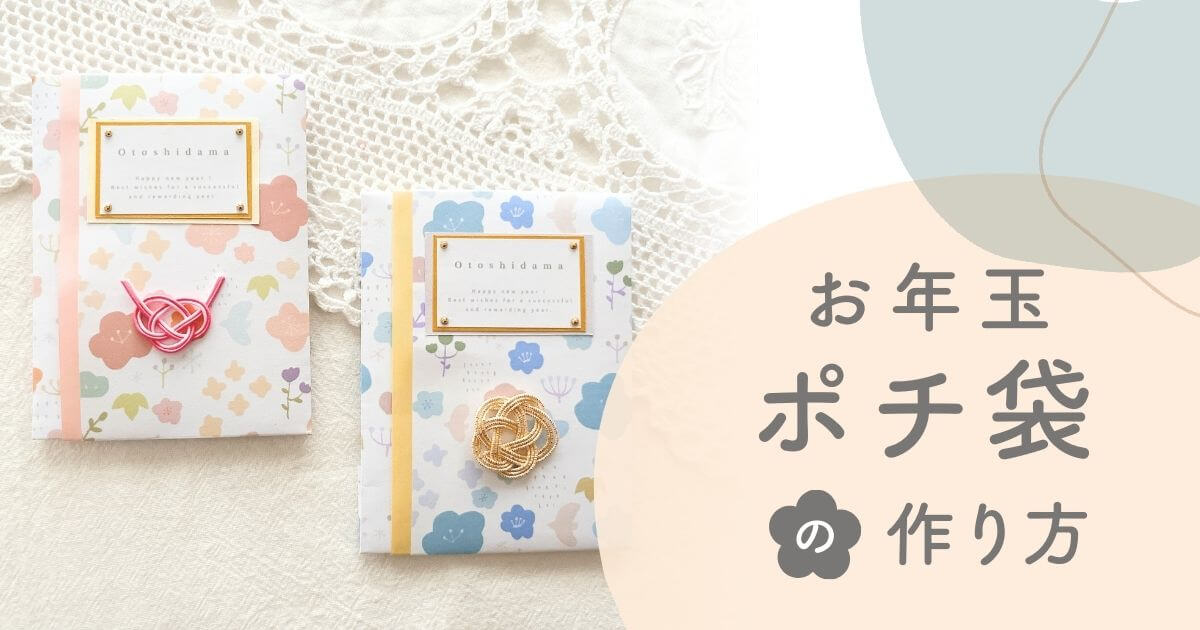
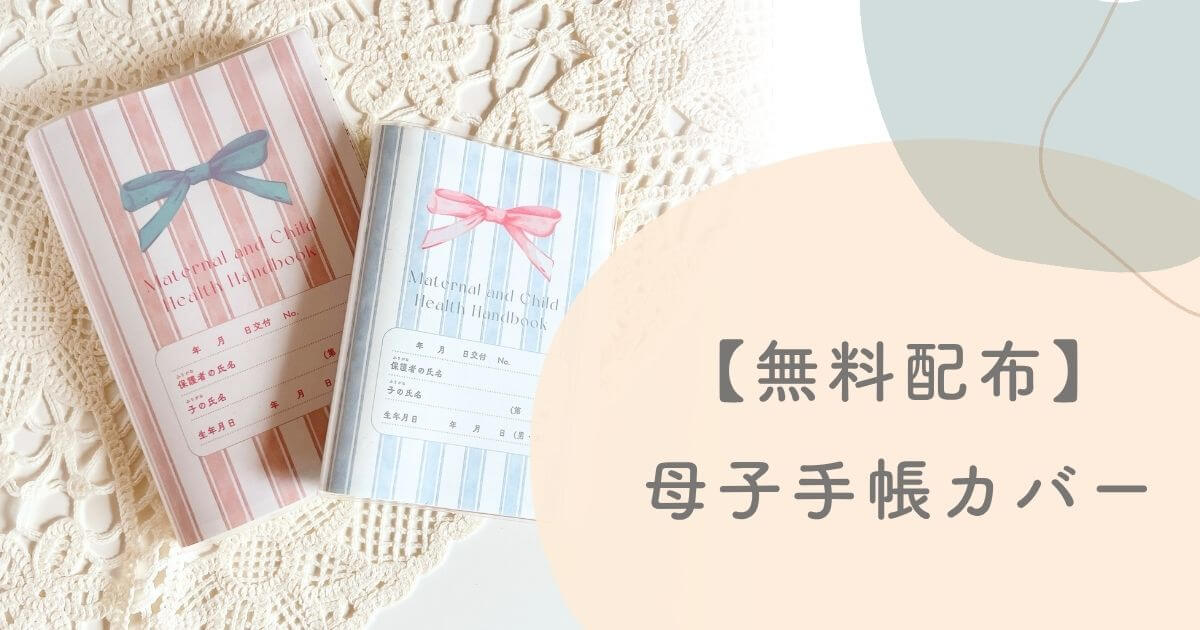
毎年正月に必要になるお年玉のポチ袋。
本記事では、型紙がいらないポチ袋の作り方を紹介しています。
また、ポチ袋に使える素材も配布しているので、ぜひダウンロードして手作りしてみてください!
目次
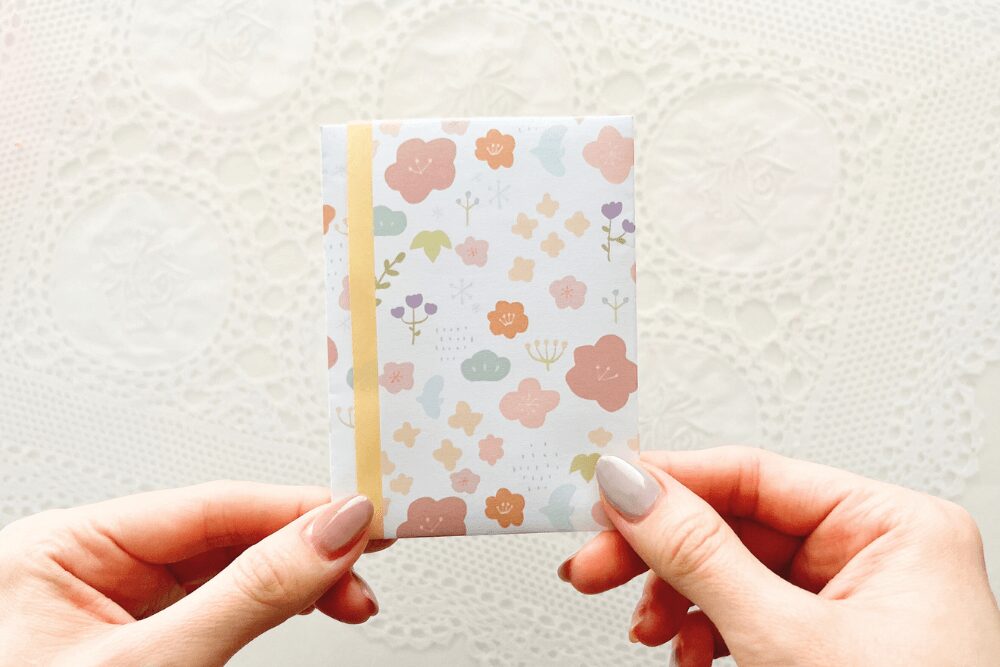
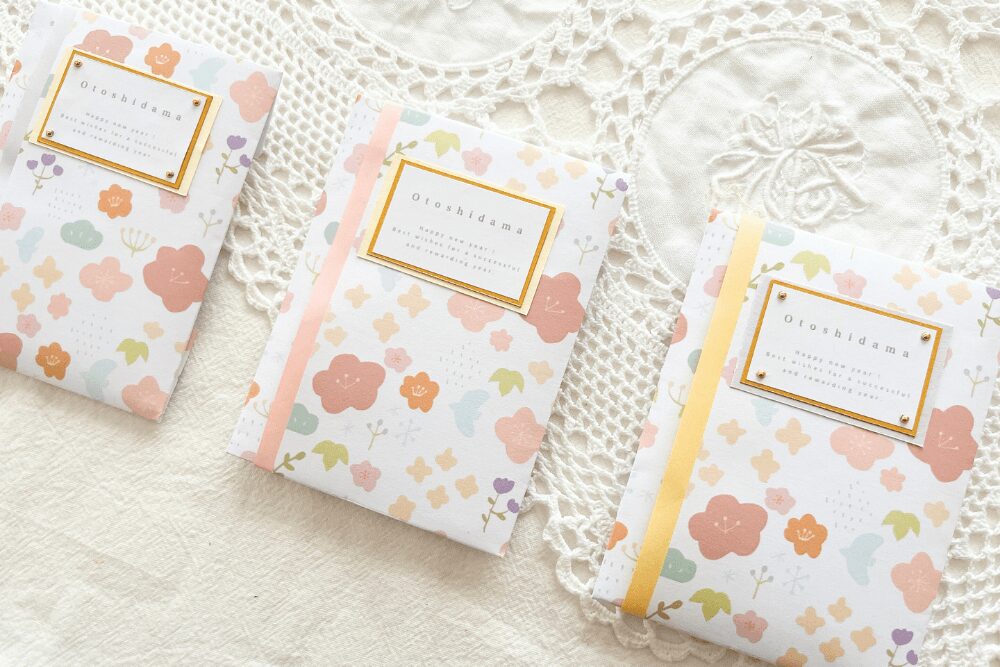
お年玉ポチ袋|できあがりはこんな感じ
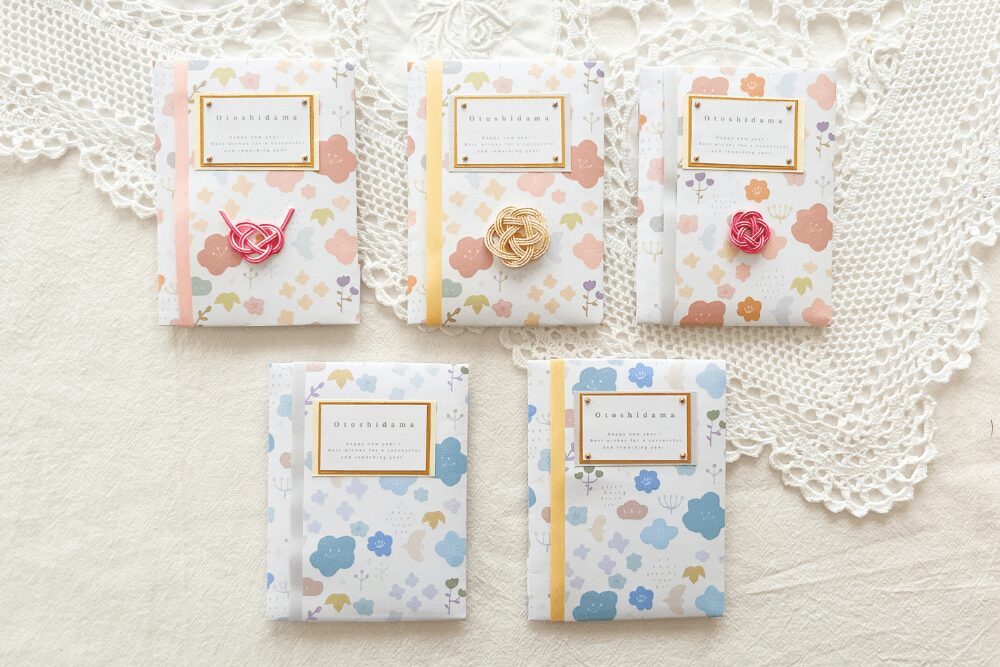
過去記事にもある、七五三の千歳飴の袋と同じ柄で作成しました。
ピンク系と水色系が作れます。
 たり
たり型紙なしで作れるので、簡単にできますよ◎
今すぐダウンロードしたい場合はこちらから
材料

材料は下記の通りです。
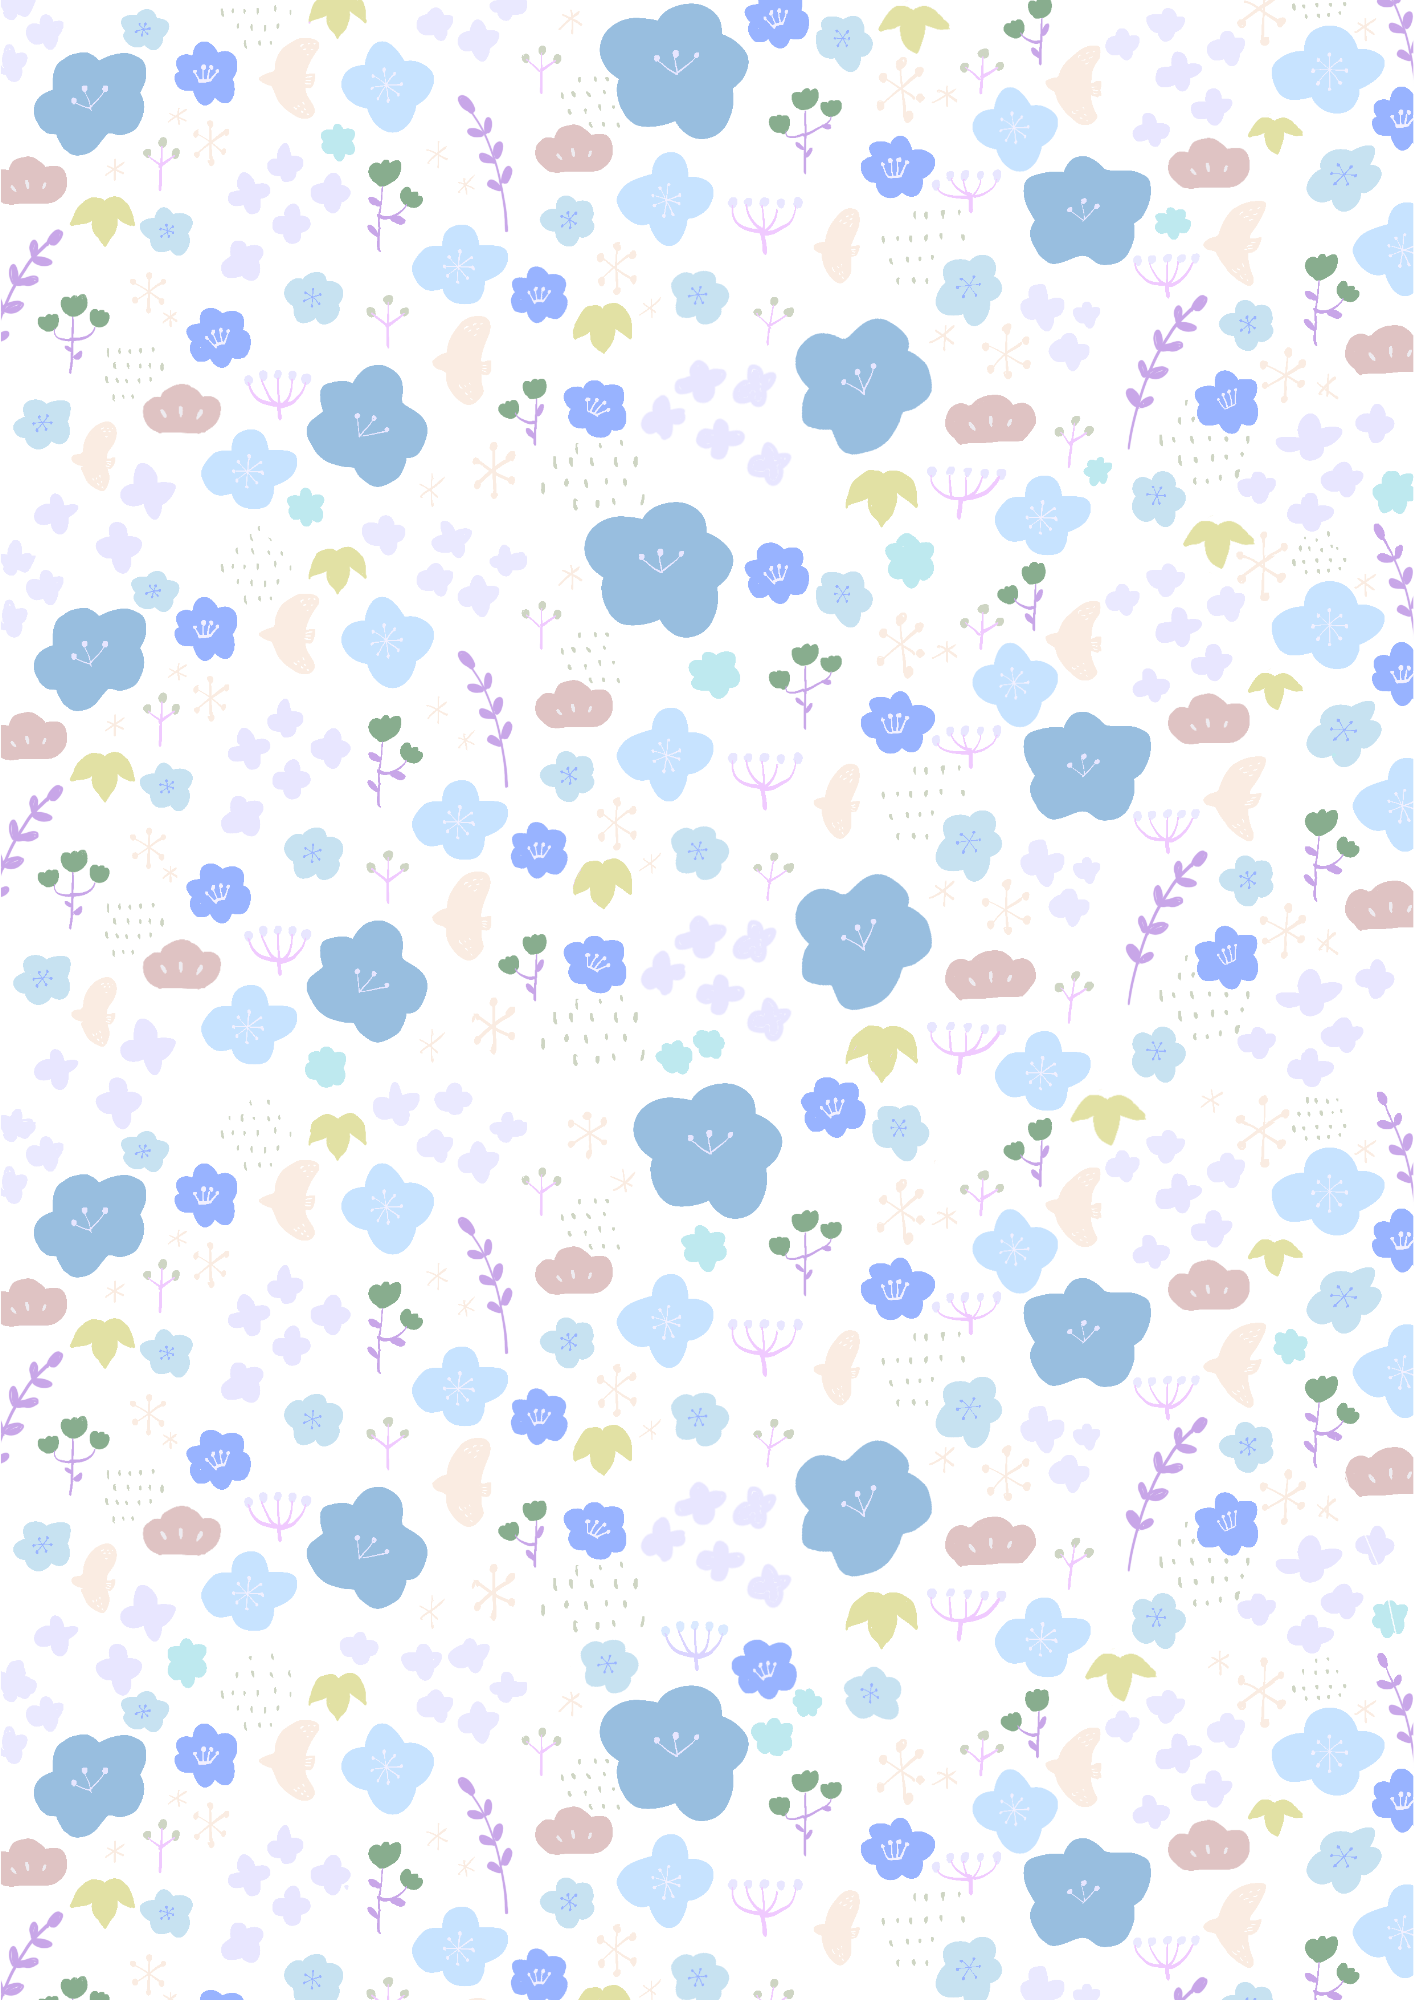
- プリンター、コピー用紙(できれば厚口)
- パステルカラーの色紙/セリア
- 金色の画用紙/セリア
- 色画用紙(今回はミルキーカラー)/セリア
- シールやマスキングテープ
- トランサー(またはつかないボールペンやシャーペン)←折り線をつける
- テープのり/セリア
- カッター
- はさみ
他、あれば飾りに使えるもの↓
- ゴールドのスタッズ(2mm)/SHEIN
- 水引
作り方
STEP
配布データをダウンロードして印刷する

STEP
花柄の用紙を半分に折り、切る。
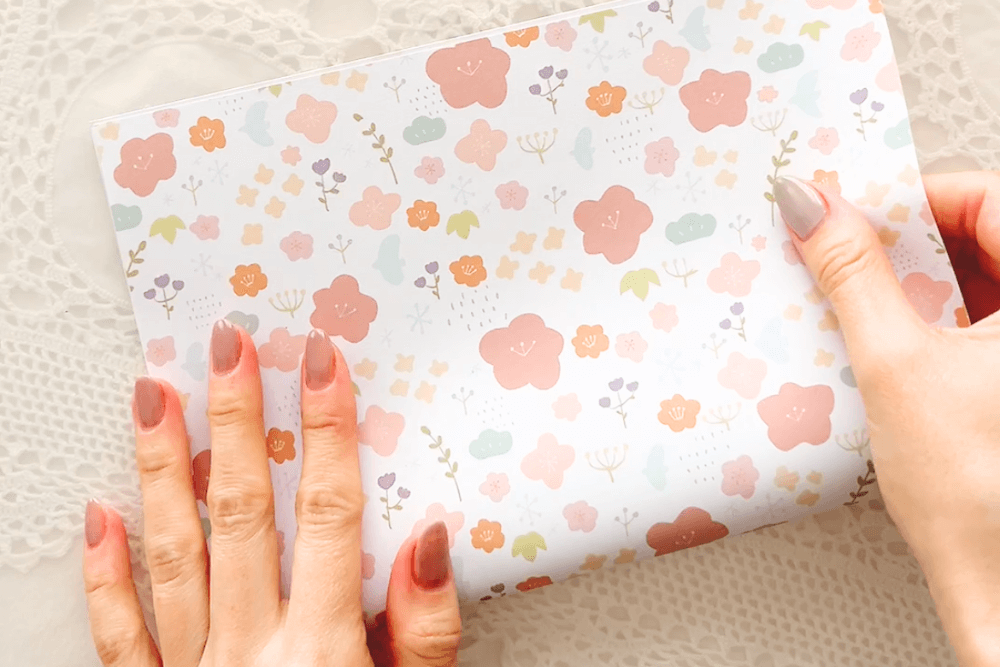
花柄を印刷した用紙を半分に折り、切ります。
STEP
折り線をつける
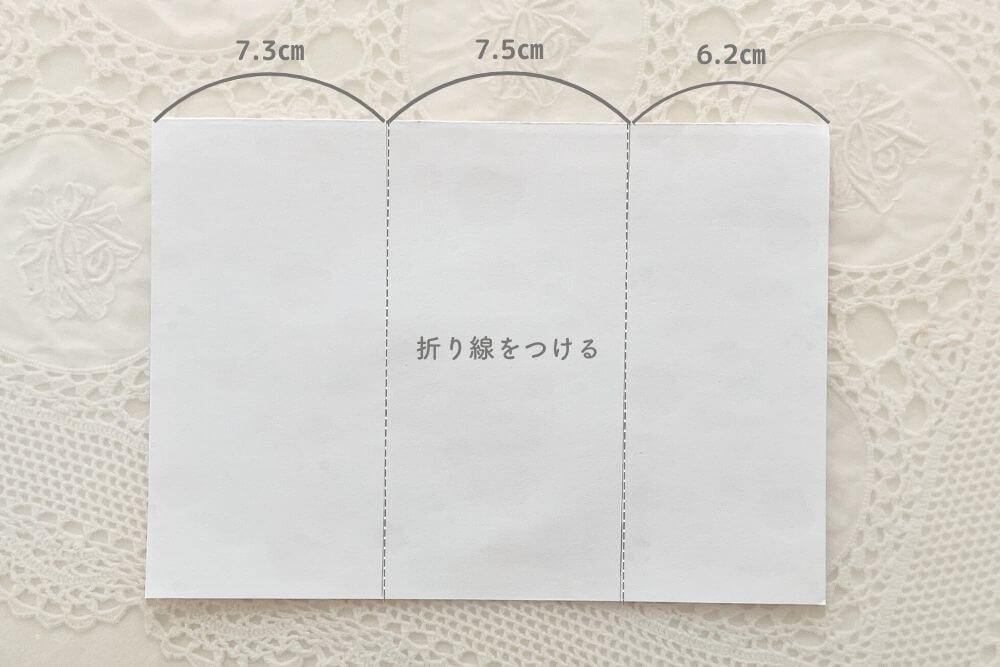
トランサー(またはつかないボールペンやシャーペン)で画像のように折り線をつけます。
STEP
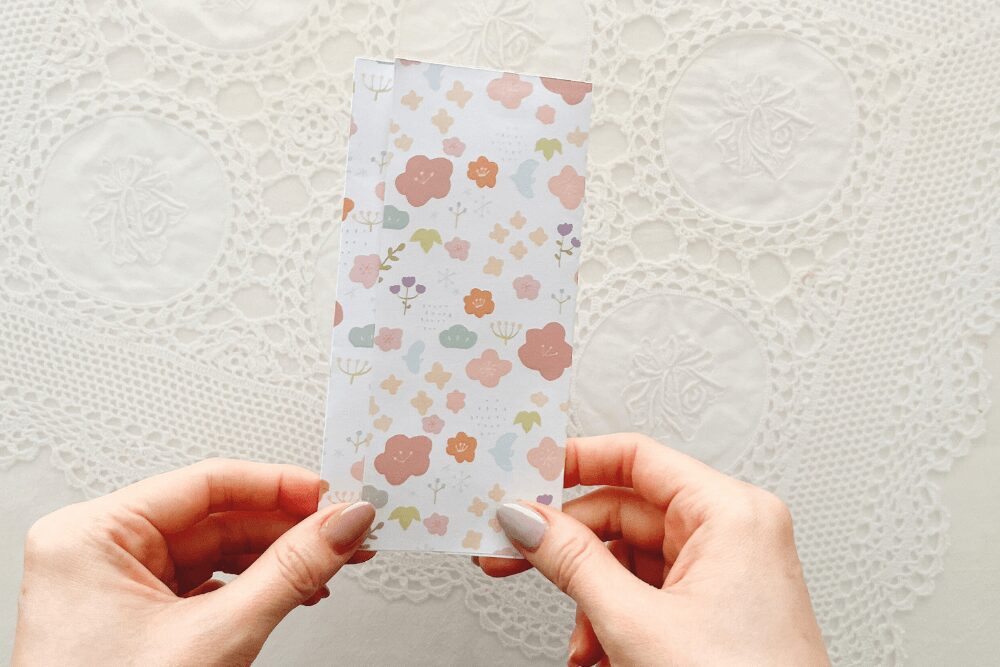
折り線に沿って折る
STEP
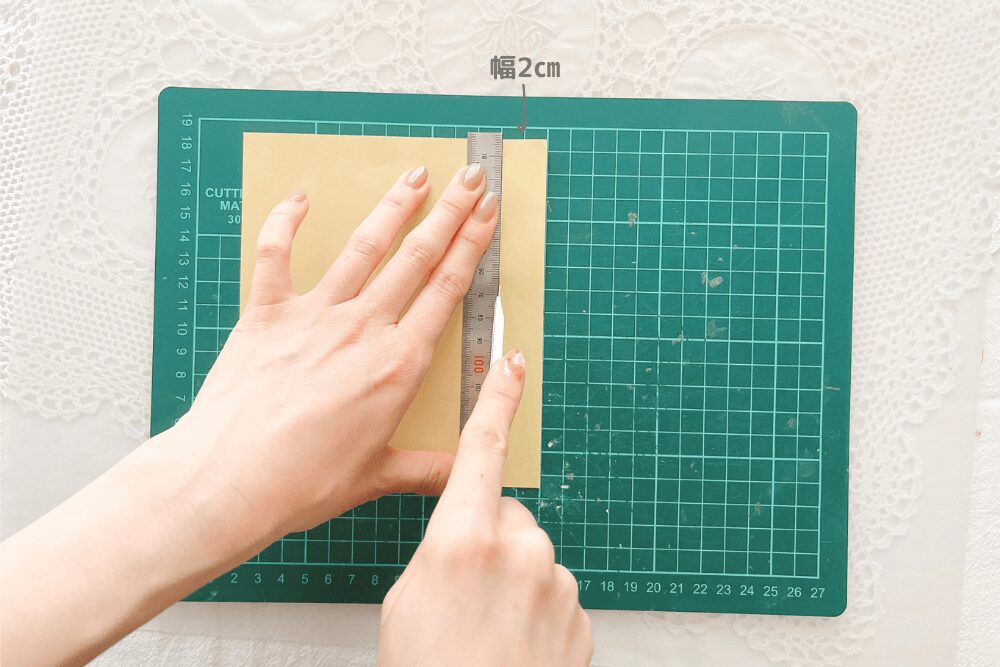
パステルカラーの色紙を2㎝幅にカット
STEP
カットした色紙を貼り付ける
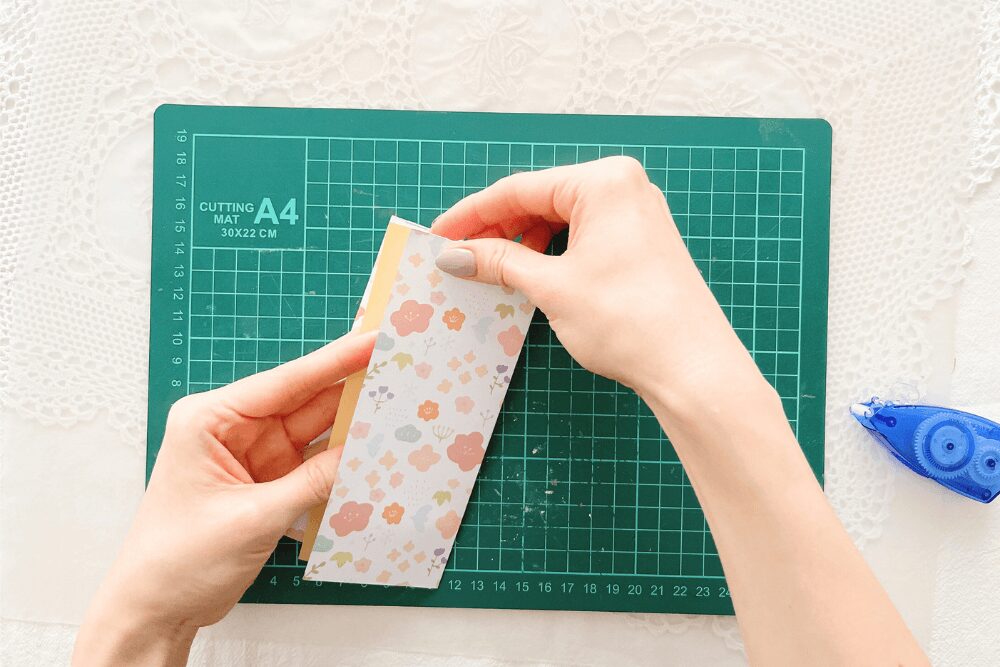
カットした色紙を花柄の紙の端に貼り付けます。
STEP
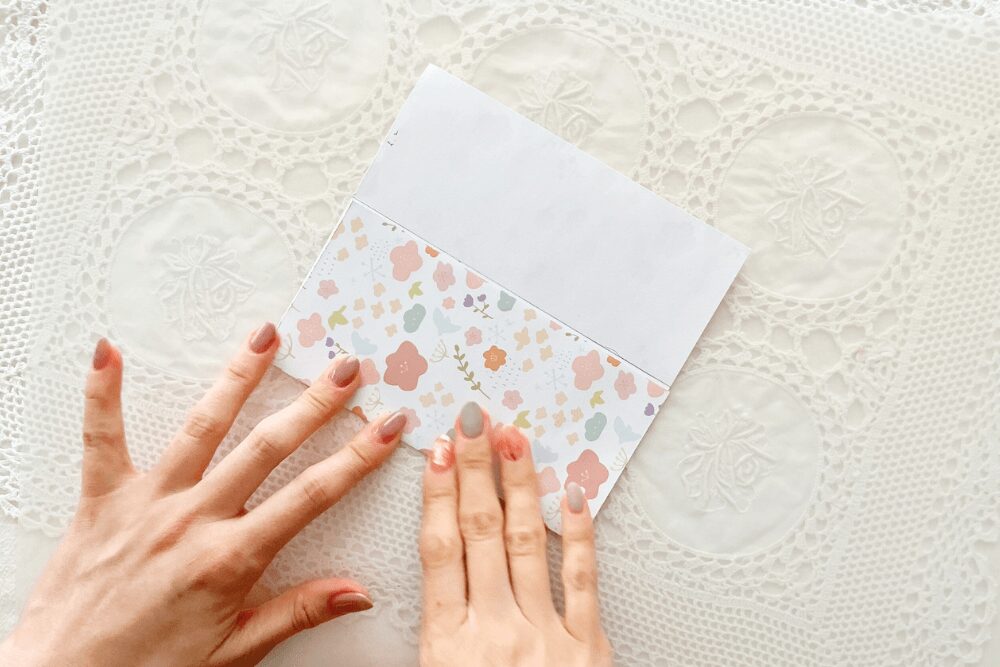
上下を2.5㎝折る
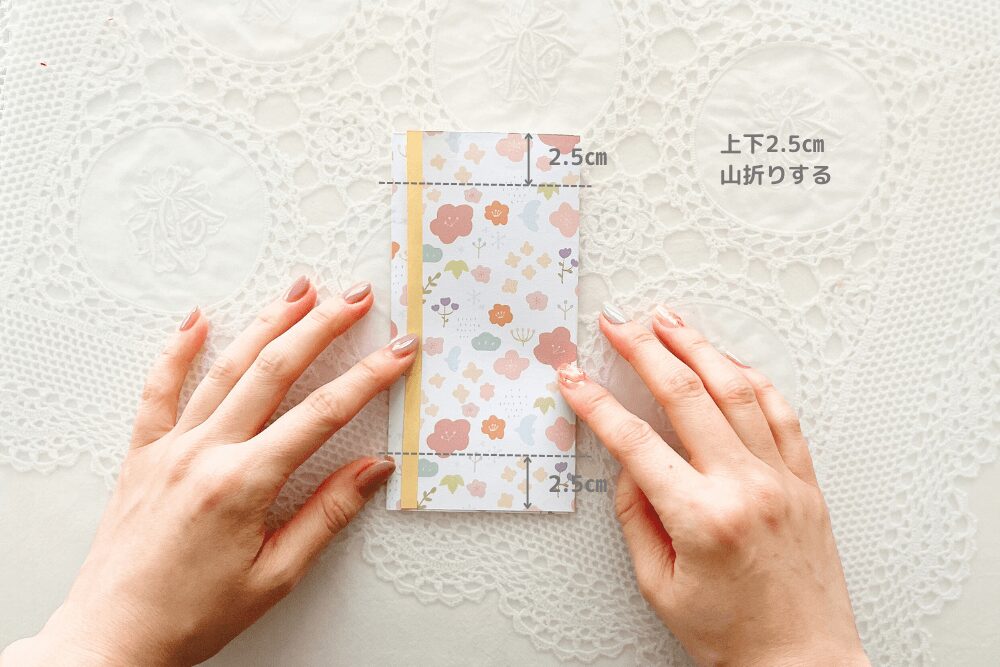
上下2.5㎝を山折りにします。
STEP
折ったところ
STEP
お金を入れ、裏をシールやマスキングテープで貼る
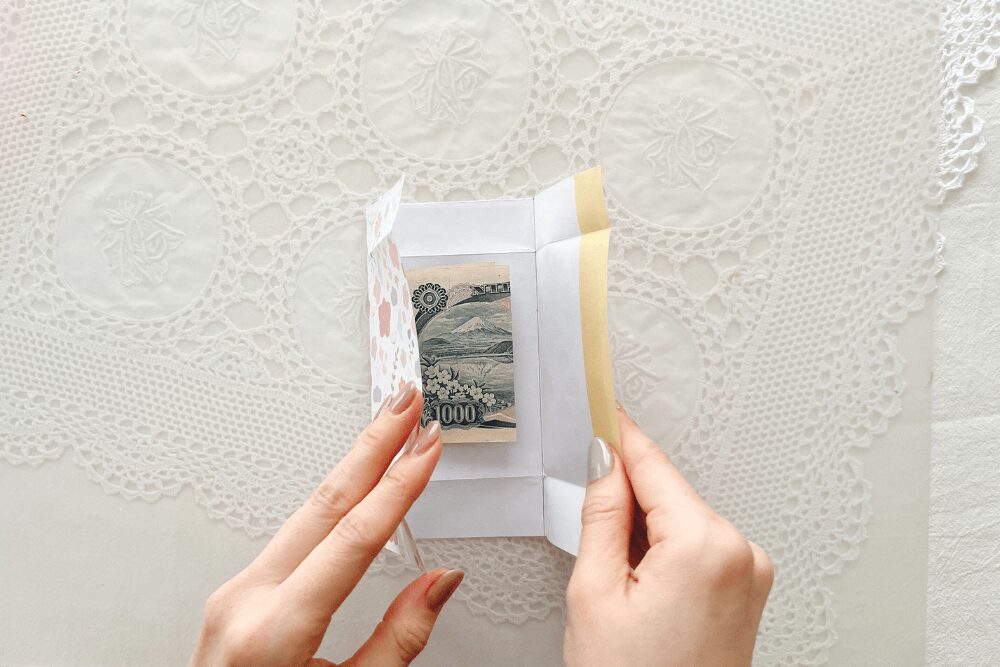
※画像のシールはセリアのもの。
STEP
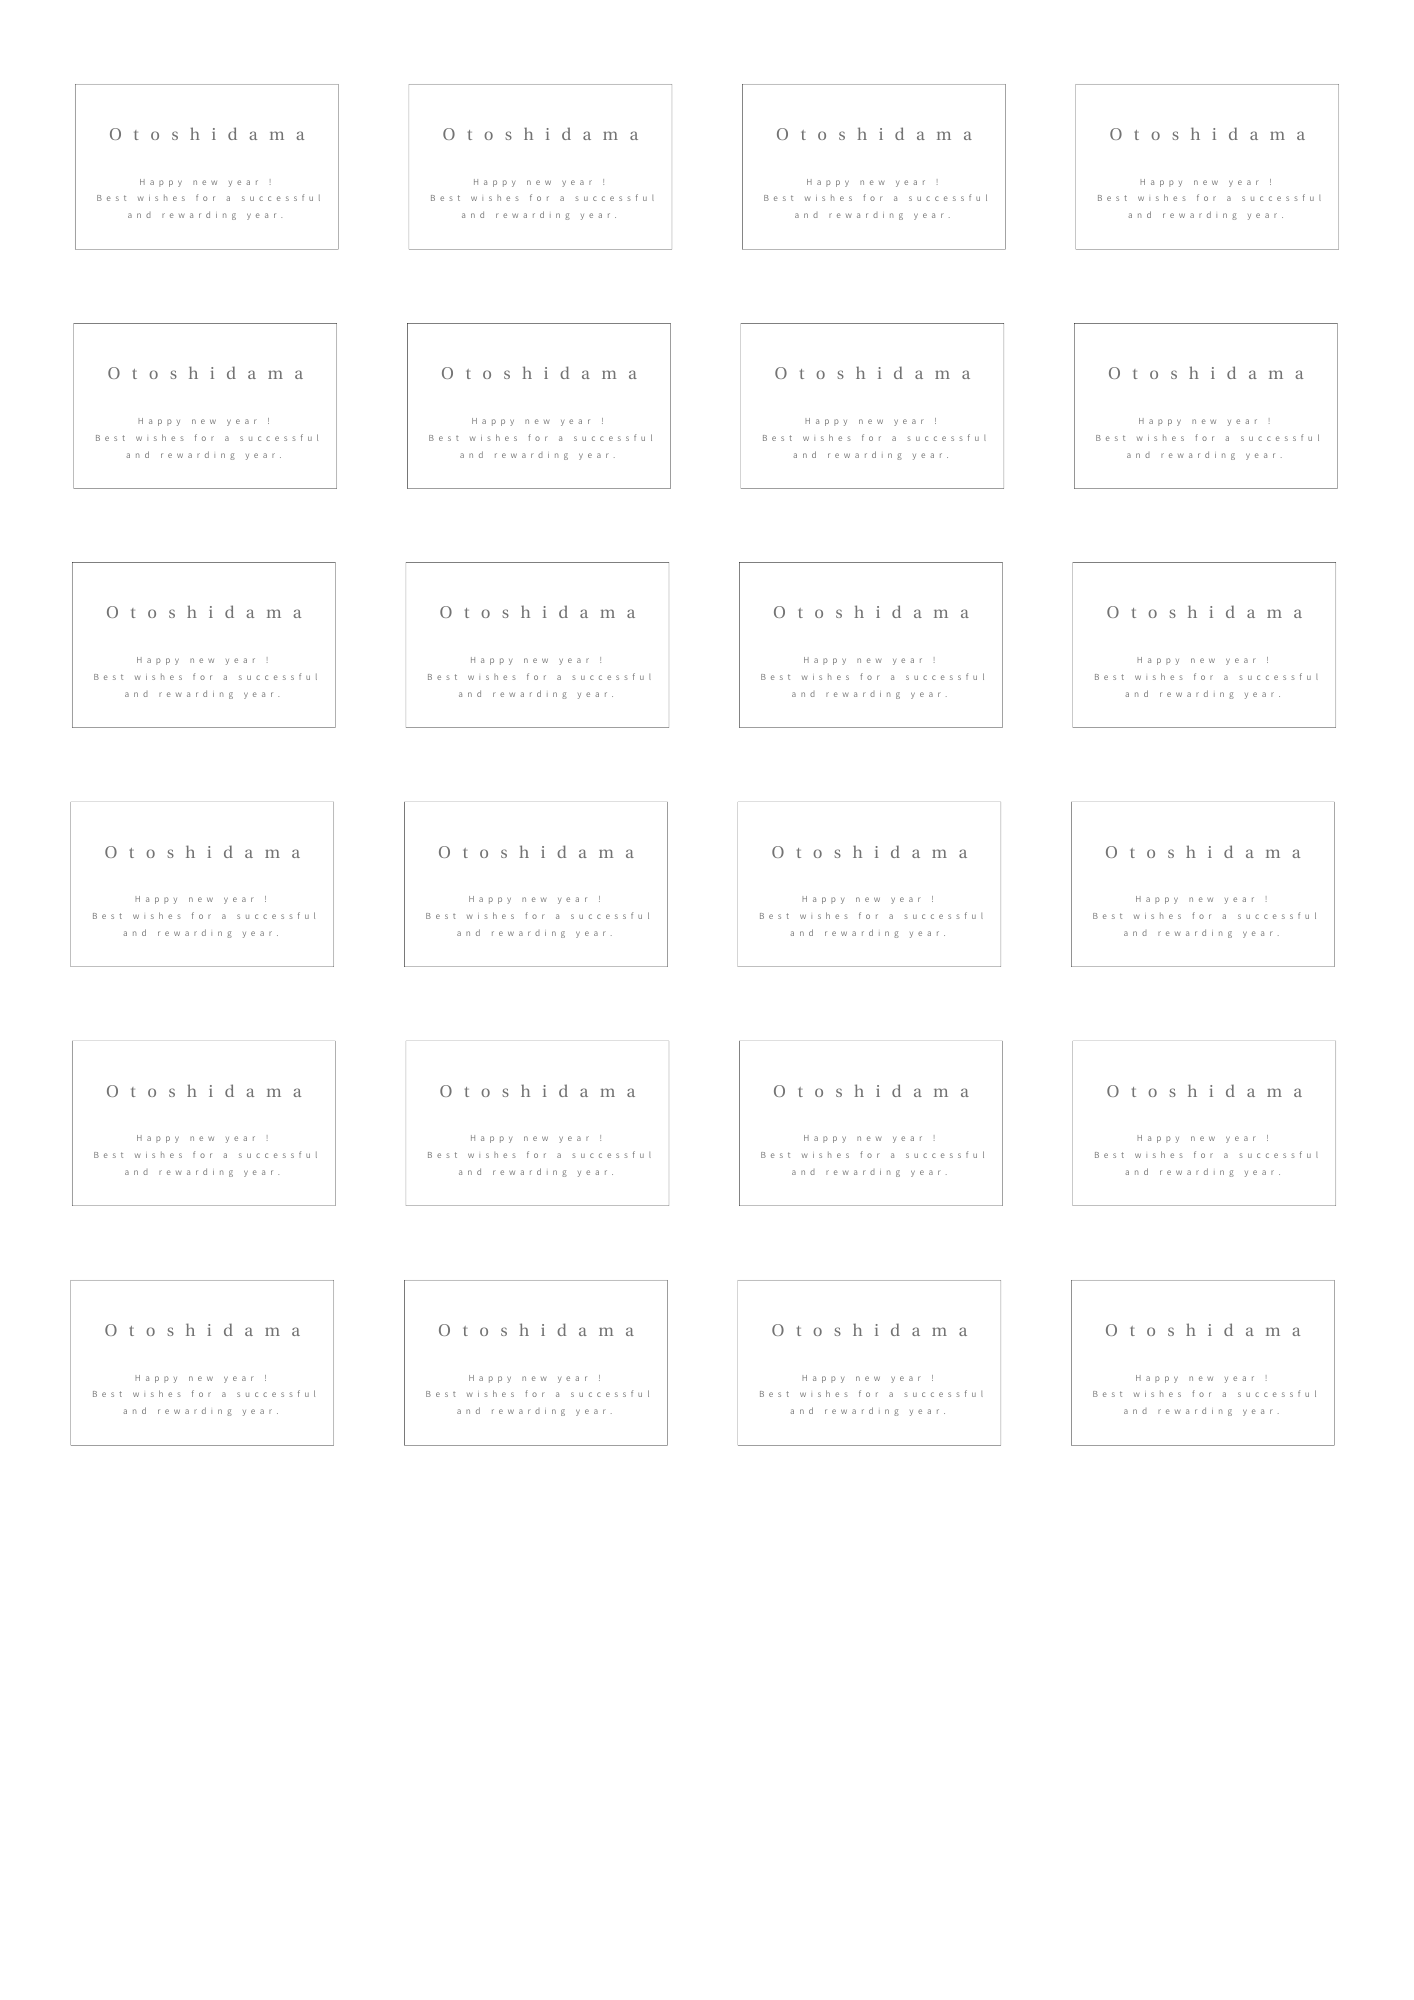
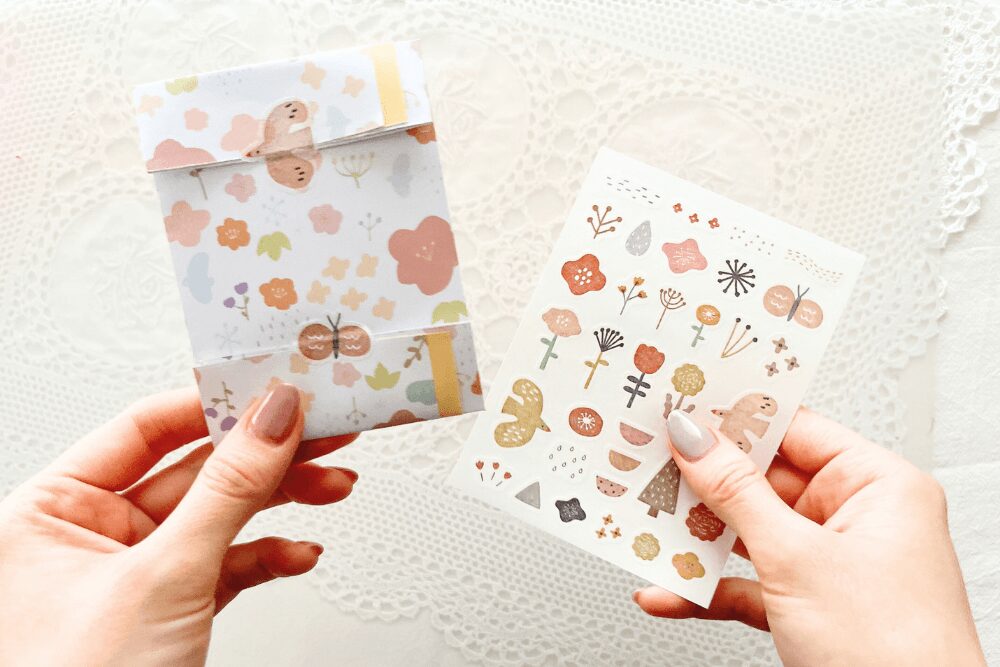
タグをカットする

タグを作っていきます。
印刷したタグを1つ1つカットしましょう。
STEP
金の画用紙に貼り、カットする

金色の画用紙にテープのりで貼り付け、まわりをカットします。
STEP
お好みの色画用紙に貼り付け、カットする
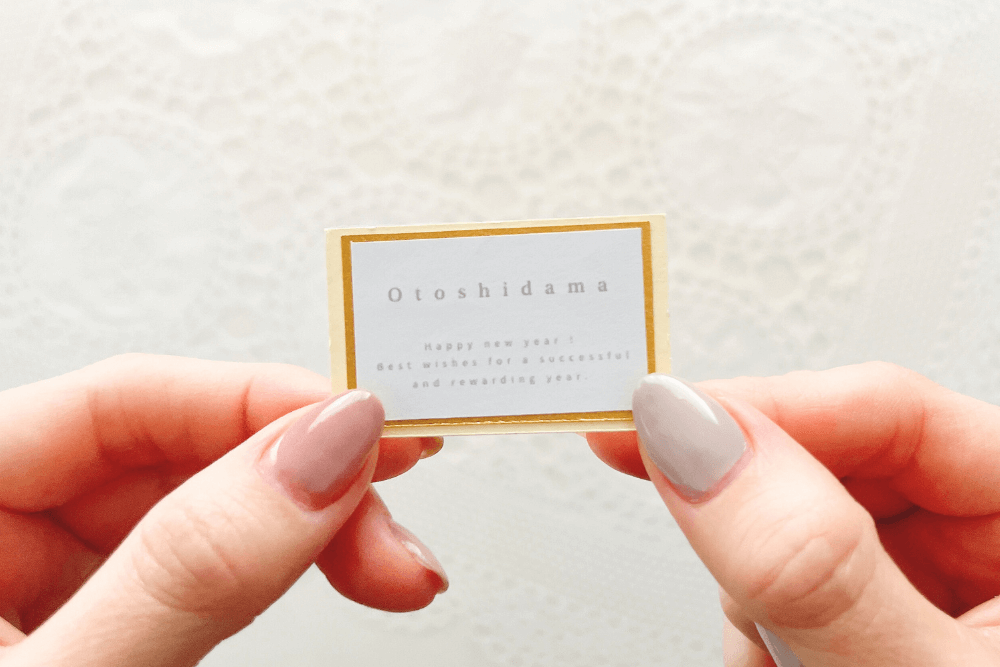
お好みの色画用紙にテープのりで貼り付け、まわりをカットします。
STEP
ポチ袋本体に貼り付けて完成
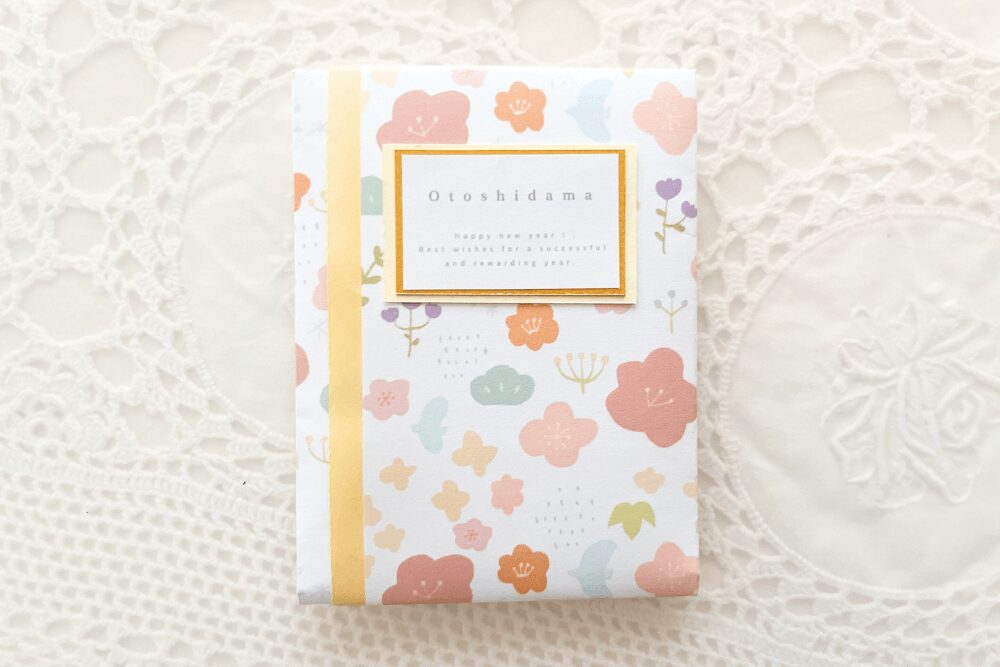
出来上がったタグを、テープのりでポチ袋本体に貼り付けて完成!
アレンジ
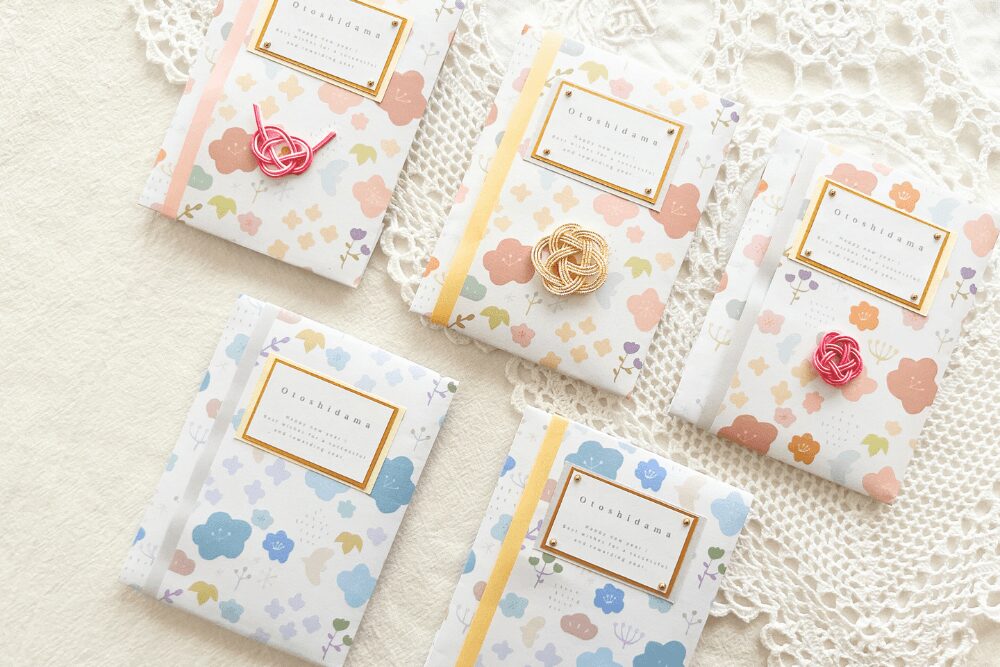
タグや色紙の色を変えたり、スタッズ(タグの四隅)や水引を貼ってもかわいいです◎
たりぜひアレンジしてみてください〜!
まとめ
本記事では、お年玉のポチ袋の作り方について解説しました。
皆さんのお役に立てれば幸いです!


コメント
コメント一覧 (2件)
ハンドメイド販売をしています
とてもかわいいので
ハンドメイド販売しても良い作品でしょうか?
返信が遅くなってしまい申し訳ないです…!
個人的な使用目的の場合のみで配布しておりますので、商用利用はお控えくださいませ。